Defining a Scheduled Import

Note: This content is no longer updated. For the latest content, please go to the user guide for M-Files Online. For information on the supported product versions, refer to our lifecycle policy.
  1. Open M-Files Admin.
  2. In the left-side tree view, expand a connection to M-Files server.
  3. Expand Document Vaults.
  4. Expand a vault.
  5. Click Content Replication and Archiving.
    Result:The content replication and archiving features are displayed in the right-side pane.
  6. In the task area, click New Scheduled Import.
    Result:The Scheduled Job Properties dialog is opened.
  7. In the Description field, type in a name for the scheduled import job.
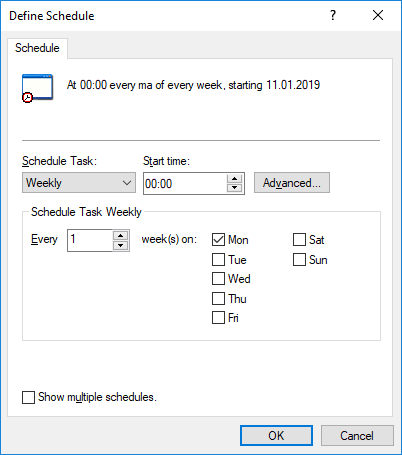
  8. To define a schedule for this task:
    1. Click the Schedule... button.
      Result:The Define Schedule dialog is opened.
    2. Define the appropriate schedule using the available options.
      The schedule option When idle is not supported in M-Files.
    3. Click OK to close the Define Schedule dialog.
  9. On the Package Location tab, define the location for the content package.
    1. Optional: Enable the Import multiple content packages if you want to import multiple packages from the selected location.
    2. Click the ... button to define the location of the content packages to be imported.
    3. Optional: Click Set Account... to define the user account to be used for retrieving the content package from the selected folder.
      You need to use a user account that has read permissions to the selected folder.
  10. Optional: Still on the Package Location tab, enable the Use replication via cloud storage option to import from a cloud storage location.
    1. In the Connection string field, enter the provided connection string for connecting to the cloud storage.
      If you do not yet have the connection string, click Get... to obtain one. This opens up a preformatted e-mail message to be mailed to M-Files customer support.
    2. In the User-specified folder name field, enter a folder location in the cloud storage that will be used for importing to one vault and exporting from another.
    3. In the User-specified password for encryption field, enter a password of your choice that will be used for encrypting content packages. The same password must be used for exporting and importing the same packages.
  11. Optional: Check the Delete content package after importing check box if you want the content package to be removed after the operation has been completed.
  12. Optional: In the Configuration ID field, you can enter any string of characters for identifying this replication job.
    M-Files automatically creates a numeric ID for each scheduled replication job, but you can optionally enter an additional ID for the job to the Configuration ID field. The ID can be any string of characters. If a configuration ID cannot be found when the jobs are processed, M-Files simply uses the numerical replication job ID.
  13. On the Objects and Files tab, you can specify how objects and files are imported.
    For more information, see Import Objects and Files.
  14. On the Structure tab, you can specify how metadata structure is imported.
    For more information, see Import Structure.
  15. On the Permissions tab, you can specify the permission settings for the imported objects.
    For more information, see Permissions (Importing Content).
  16. Click OK to save the scheduled import job and close the Scheduled Job Properties dialog.
The scheduled import job that you have just defined is added to the Scheduled Export and Import list and will be run according to the defined schedule.