Saving in M-Files

When using M-Files, you no longer save documents in a single folder but on the M-Files drive, which can be found on your computer like a hard drive. You do not need to specify any other location than the document vault, as M-Files locates the document in the correct views on the basis of the metadata you define in the metadata card.

Video: Saving Documents

You can save the documents directly to M-Files from the applications that you use. The new save location is the document vault.

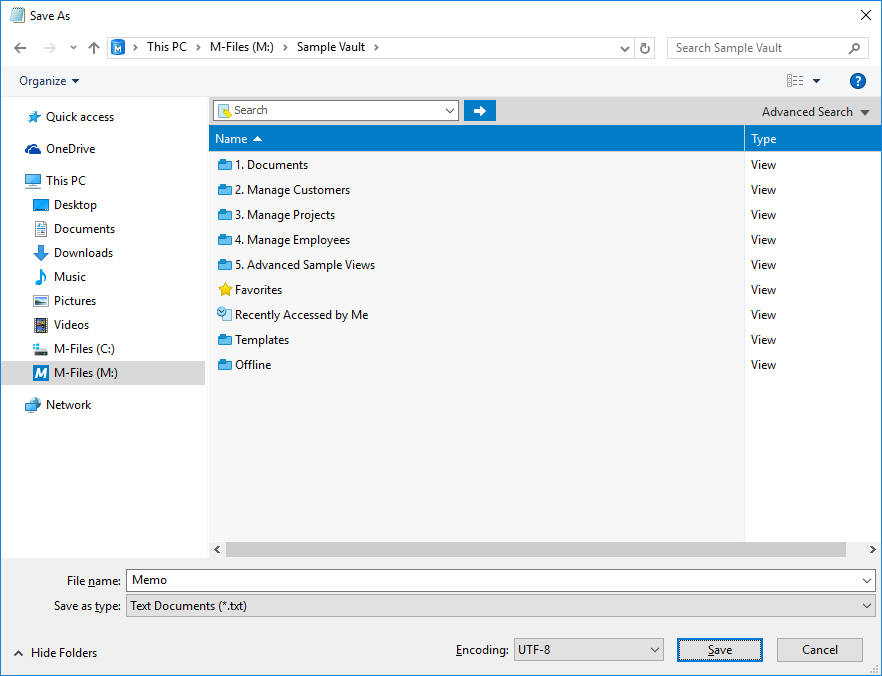
Saving a document to a document vault.

Tip: On the left side of the save dialog, there is a quick link to M-Files.

Below are some examples of how you can save your work directly from an application to M-Files. The first example applies to virtually every desktop application. The second example applies to Office products (Office 2007 and newer).

Example: Saving a PowerPoint Presentation to M-Files

Steps

  1. Open PowerPoint and create a new presentation or open an existing one.
  2. Once your presentation is ready, select File > Save As > Computer > Browse.
    The Save As dialog is opened.
  3. On the left pane of the Save As dialog...
    1. Click the Computer location and and on the right pane, double-click M-Files.
      or
    2. Click the arrow next to Computer to expand the location and click M-Files.
  4. Double-click the vault where you want to save your presentation.
  5. Enter a file name for your presentation in the File name field.
  6. Click Save.
    The New Document dialog is opened.
  7. Select an appropriate class for your presentation from the Class drop-down menu.
  8. Optional: Enter other optional property values.
    Click Add property to add additional properties.
  9. Click Create.

Results

Your presentation is saved to M-Files.

Example: Saving a PowerPoint Presentation to M-Files by Using the M-Files Tab

Steps

  1. Open PowerPoint and create a new presentation or open an existing one.
  2. Once your presentation is ready, select the M-Files tab on the PowerPoint ribbon.
  3. Click Save to M-Files.
  4. In the drop-down menu that opens, click the vault where you want to save your presentation.
    The New Document dialog is opened.
  5. Select an appropriate class for your presentation from the Class drop-down menu.
  6. Optional: Enter other optional property values.
    Click Add property to add additional properties.
  7. Click Create.

Results

Your presentation is saved to M-Files.