The Objects and Files tab enables you to change settings related to importing object and file content.
Settings
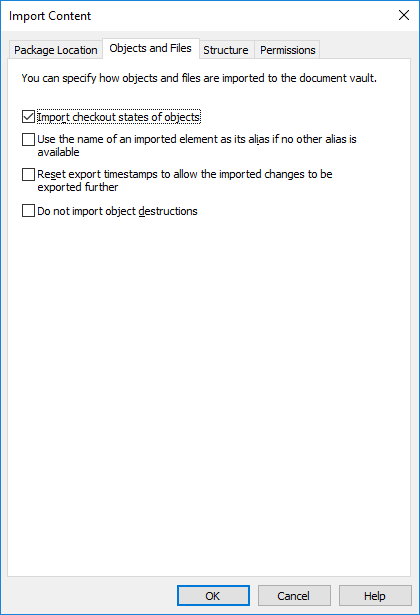
The "Objects and Files" tab of the "Import Content" dialog.
Import check-out states of objects
If the objects are checked out in the vault from which you are exporting, you can import the check-out states to the target vault as well. Then the object is also checked out in the target vault, which prevents other users from editing it. This reduces the possibility of conflicts, which could be caused by simultaneous editing in multiple vaults.
Use the name of an imported element as its alias if no other alias is available
Since only built-in, GUID and "ID+name" matching metadata definitions are automatically connected, other metadata definitions must be associated by using aliases. However, the necessary alias definitions may not have been made in the source vault. In the latter case, the data export can be facilitated by means of this setting. When this option has been selected, the alias need only be defined in the target vault as long as it is in line with the element's source vault name.
For example, you may want to import objects of the Project type but have not defined an alias for the Project object type in the source vault. By selecting this option and adding, in the target vault, an alias corresponding to the source vault's name for the project object type (in this case, the alias is "Project"), you will get the necessary definitions for the import.
Reset export timestamps to allow the imported changes to be exported further
If you want to export objects and their changes from one vault to another – for example, from vault A to vault B – and then onward (to vault C, D and so forth), enable this setting when you are importing from vault A to vault B. In this case, the corresponding objects and their changes can be exported from vault B to vault C as new information because the timestamps were reset.
In this case, make also sure that you have activated the Export information on destroyed objects and object versions selection in connection with the export to vault B.
Do not import object destructions
Select this option if:
- You do not want to destroy objects that you have destroyed in the source vault also in the target vault. For example, if you use the target vault for archiving destroyed objects, select this setting.
- You do not want to destroy objects that are no longer part of the export set. Please note that this setting nullifies the export setting If a previously exported object is no longer part of the export set, mark it to be destroyed in the target vault.